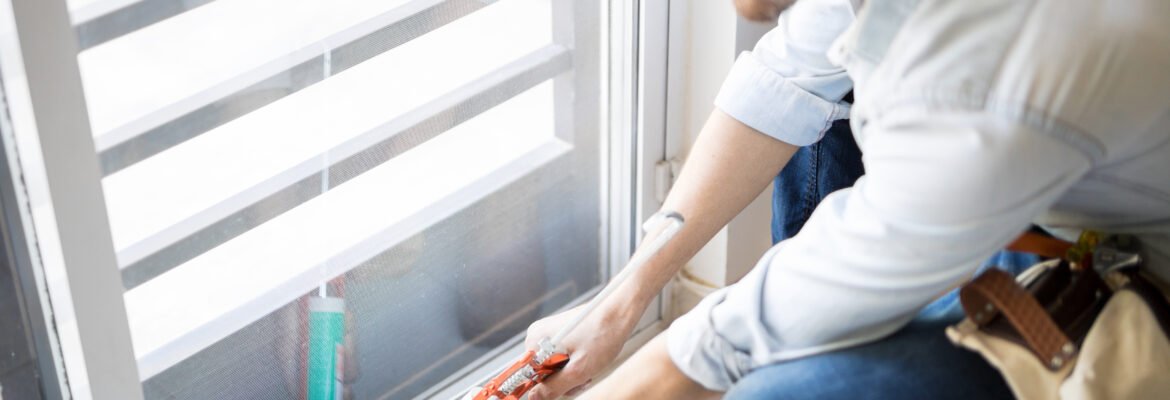
Say Goodbye to Gunky Grime: How to Remove Bathroom Sealant
Bathroom sealant is meant to keep water where it belongs, but over time it can become dirty, moldy, or just plain worn out. If you’re staring at a grimy line around your tub or sink, don’t fret! Removing that old sealant can breathe new life into your bathroom. Here’s how you can do it easily and effectively.
Gather Your Tools
Before you jump into the cleanup, make sure you’ve got the right tools on hand. You’ll need:
- A utility knife or razor blade
- A silicone sealant remover (optional but helpful)
- Rubbing alcohol or vinegar
- A putty knife
- A sponge or cloth
- Gloves (to protect your hands)
Having everything ready makes the process smoother, just like having your favorite playlist when cooking dinner!
Cut Away the Old Sealant
Start by using a utility knife or a razor blade. Carefully slice through the sealant. Make sure to work gently, as you don’t want to damage the surfaces underneath. Think of it like peeling a banana; you want to take your time to get it just right. Once you have a good cut, you can often pull the sealant off in strips.
If it’s stubborn, use a putty knife to help lift it away. The goal here is to get a clean surface, free of any old gunk.
Apply Sealant Remover (If Needed)
Sometimes, even after slicing, you’ll find bits of sealant still clinging on like a stubborn cat. If that’s the case, grab your sealant remover. Spray or apply it according to the product instructions and let it sit for a while. This stuff works like magic, softening the sealant and making it easier to scrape away.
While waiting, think about how fresh and clean your bathroom will look once you’re done!
Clean the Surface
Once you’ve removed all of the old sealant, clean the area thoroughly. Grab a cloth or sponge and sprinkle a bit of rubbing alcohol or vinegar. This helps eliminate any remaining residue and mold. It’s a bit like washing your hands after playing outside; you want everything to be squeaky clean.
Make sure the area dries properly before you jump back to sealing.
Apply New Sealant
Now comes the fun part! After everything’s clean and dry, it’s time to apply your new sealant. Squeeze it out steadily along the edge where you want it. Use a putty knife or your finger (gloved, of course) to smooth it out. This step ensures a nice, even finish—just like icing a cake.
Give the new sealant time to dry according to the product instructions. It’s tempting to jump back into your routine, but patience pays off!
Final Touches
Once the new sealant is dry, take a step back and admire your work. Your bathroom should now look refreshed and ready to shine! Remember to keep an eye on the sealant in the future. Regular cleaning will help prevent mold and keep things looking great.
Removing bathroom sealant doesn’t have to be a daunting task. With the right tools and a bit of elbow grease, your bathroom can go from drab to fab in no time!
Image by tonodiaz on Freepik

