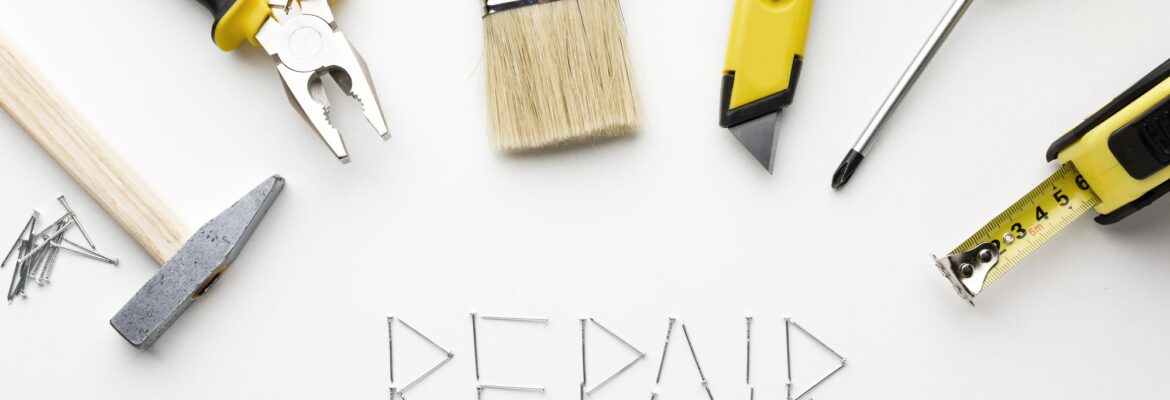
Imagine coming home after a long day, only to find water pooling under your sink because of a leaky faucet. The shock of realizing that this small problem could turn into a costly disaster is enough to make anyone cringe. Unexpected home repairs can not only drain your wallet but also add unnecessary stress to your life.
Knowing how to handle common home repairs helps you save money and gives you peace of mind. Here are the top five repairs every homeowner should learn to tackle.
Plumbing Issues (Leaky Faucets & Clogged Drains)
Leaky Faucet Repair
Did you know that a leaky faucet can waste over 11,350 litres of water each year? This not only impacts your utility bill but also contributes to water scarcity. Here’s a quick guide to help you fix that annoying drip.
Step-by-Step Guide:
- Gather Tools: You’ll need a wrench, screwdriver, and replacement washers.
- Turn Off Water Supply: Locate the shutoff valve under the sink.
- Remove Faucet Handle: Unscrew the handle using a screwdriver.
- Replace Washers: Get new washers that fit your faucet model and replace them.
- Reassemble: Put everything back together and turn the water supply on.
Expert Quote: “Regular maintenance of faucets can prevent leaks before they start,” says a plumbing professional.
Clogged Drain Solutions
Clogged drains can be a major headache. Common causes include hair, soap buildup, and food particles. Here’s how to tackle a clogged drain.
DIY Solutions:
- Boiling Water: Pouring boiling water can help dissolve some clogs.
- Baking Soda and Vinegar: Use this natural remedy to clear minor blockages.
Professional Help: For stubborn clogs, don’t hesitate to call a plumber.
Real-World Example: One homeowner saved over $150 by clearing a clogged drain with a simple home remedy instead of paying for professional service.
Minor Electrical Repairs (Replacing Light Switches & Outlets)
Replacing Light Switches
Switching out a faulty light switch is a simple task that can enhance safety and functionality.
Safety Precautions:
- Turn off the circuit breaker.
- Use a voltage tester to ensure the power is off.
Step-by-Step Instructions:
- Remove the Old Switch: Unscrew the faceplate and switch.
- Connect Wires: Attach the wires to the new switch following the same configuration.
- Reassemble: Screw the new switch back and reattach the faceplate.
Replacing Outlets
Outlets may face issues like sparks, discoloration, or loose plugs. Here’s how to replace an outlet safely.
Common Outlet Problems:
- Loose Connections: Often caused by wear and tear.
- Sparks: Indicates a serious electrical issue.
Real-World Example: A homeowner discovered a simple outlet replacement saved them from potential fire hazards, ensuring safety.
Important Note: Always prioritize electrical safety. If unsure, consult a professional.
Drywall Repairs (Small Holes & Cracks)
Patching Small Holes
Those small holes from nails or minor accidents can be fixed easily.
Materials Needed:
- Joint compound
- Putty knife
- Sandpaper
Step-by-Step Guide:
- Clean the Area: Remove any loose debris.
- Apply Joint Compound: Use a putty knife to spread the compound over the hole.
- Sand It Down: Once dry, sand until smooth.
Repairing Cracks
Cracks can be more than just cosmetic. They may indicate underlying issues.
Identifying Cracks:
- Surface Cracks: Often simple to fix with joint compound.
- Structural Cracks: May require professional inspection.
Real-World Example: A homeowner ignored a small crack, leading to significant damages that cost thousands. Regular checks can prevent such issues.
Painting (Interior Walls & Touch-Ups)
Interior Wall Painting
A fresh coat of paint can transform a room. Here’s how to do it right.
Preparation Steps:
- Clear the room of furniture.
- Tape edges and corners for clean lines.
Choosing Paint & Tools:
- Select a quality paint that fits your budget and style.
- Use brushes, rollers, and trays for application.
Touch-Ups & Spot Repairs
Blending paint seamlessly is key to a polished look.
Techniques:
- Use a small brush for touch-ups.
- Feather the edges to make repairs invisible.
Real-World Example: A homeowner achieved a perfect blend after following these techniques, impressing all their guests.
Expert Quote: “Choosing the right paint can make all the difference,” a professional painter recommends.
Basic Carpentry (Fixing Loose Doors & Drawers)
Fixing Loose Doors
Loose doors can be annoying and may not close properly.
Identifying Causes:
- Worn hinges or misaligned frames are common.
Step-by-Step Guide:
- Tighten Hinges: Use a screwdriver to secure loosely attached hinges.
- Adjust the Frame: If necessary, shim the door frame for alignment.
Fixing Loose Drawers
Loose drawers can hinder functionality.
Common Causes:
- Worn-out slides or poor alignment.
Solutions:
- Tighten Screws: Regularly check and tighten any screws holding the slides.
- Replacement Slides: Consider replacing slides if they’re damaged.
Expert Tip: Use drawer liners to prevent wear and tear on drawer interiors.
Conclusion
Knowing how to handle basic home repairs can relieve stress and save money. By learning to fix leaky faucets, minor electrical issues, drywall imperfections, painting tasks, and carpentry fixes, homeowners can manage their spaces better.
Don’t wait for a small issue to become a big problem. Start learning these basic repairs today. Check out resources on home repair tutorials or ask a neighbor for help. Taking control of your home maintenance is empowering and cost-effective!